Tire Pressure for Off-Road Driving: What to Air Down to
Start with the cold pressure on your driver-door placard, then air down up to about 50 percent for soft sand; on stock rims, a common rule of thumb is to stop near 18 to 20 psi unless the terrain and tire size clearly support less. Go too high and you give away grip and ride control; go too low and you raise the odds of debeading, sidewall damage, heat, and wheel hits. This guide lays out a PSI framework by terrain, load, tire, and wheel, plus the signs that tell you to stop lowering pressure and when to air back up for pavement.
The goal is repeatability. Use the cold street pressure on the driver-door placard as your baseline, step down in small changes, then record the front and rear pressures that worked for that exact vehicle, tire, load, and trail. A pressure that works on an empty light SUV can be too low for a loaded overland build or too high for soft sand.
Start with your street pressure
Use the placard, not a generic forum number
Most trucks and SUVs leave the street with placard pressures in the 32-38 PSI range. Use that as your starting point because it is tied to the vehicle’s axle loads, approved tire-size options, and intended road use, not to a one-size-fits-all off-road guess.
Check pressure when the tires are cold. Tires usually lose or gain 1 to 2 PSI for every 10 degrees Fahrenheit. If you air down after a highway drive, the hot reading will not match the cold number you want to log for future trips.
Account for tire size, load rating, and loadout
Any off-road target is a starting estimate, then adjusted by tire size, load rating, sidewall construction, and the surface under you. A larger tire with a stiff sidewall may need less reduction to change the contact patch. A smaller or softer tire may show sidewall bulge much sooner.
Vehicle load matters right away. A loaded overland SUV with camping gear, water, and rear cargo often needs a higher rear trail floor than the same SUV when empty. The more weight on an axle, the less room you have to keep dropping pressure before the sidewall and bead are doing too much work.
Front and rear do not always match
Equal pressure front and rear is common on pavement; off-road, axle loads can split that. If the rear carries cargo or tongue weight, keep the rear a little higher than the front unless the vehicle manual or tire setup clearly points another way. That helps limit squirm, wheel strikes, and bead risk on the loaded axle.
Take a midsize truck with light front loading but drawers, a fridge, and recovery gear over the rear axle. If the front feels good at a given trail pressure but the rear starts to feel loose in corners or shows more sidewall roll, the rear has likely reached its floor first.
Measure with a good gauge, then verify if needed
Gauge accuracy matters because a two- or three-psi error is a big deal once pressures drop into the 20s. Carry a handheld gauge on the trail and compare it against a second gauge if the reading looks wrong or the vehicle behavior does not fit the number.
TPMS helps, but it is not the final word. Warning thresholds vary by vehicle, alerts often trigger while aired down, and the sensor reading may not match a handheld gauge exactly. Verify actual pressure with the gauge you trust, then reset or service TPMS only as your manual directs.
What tire pressure should you air down to off-road?
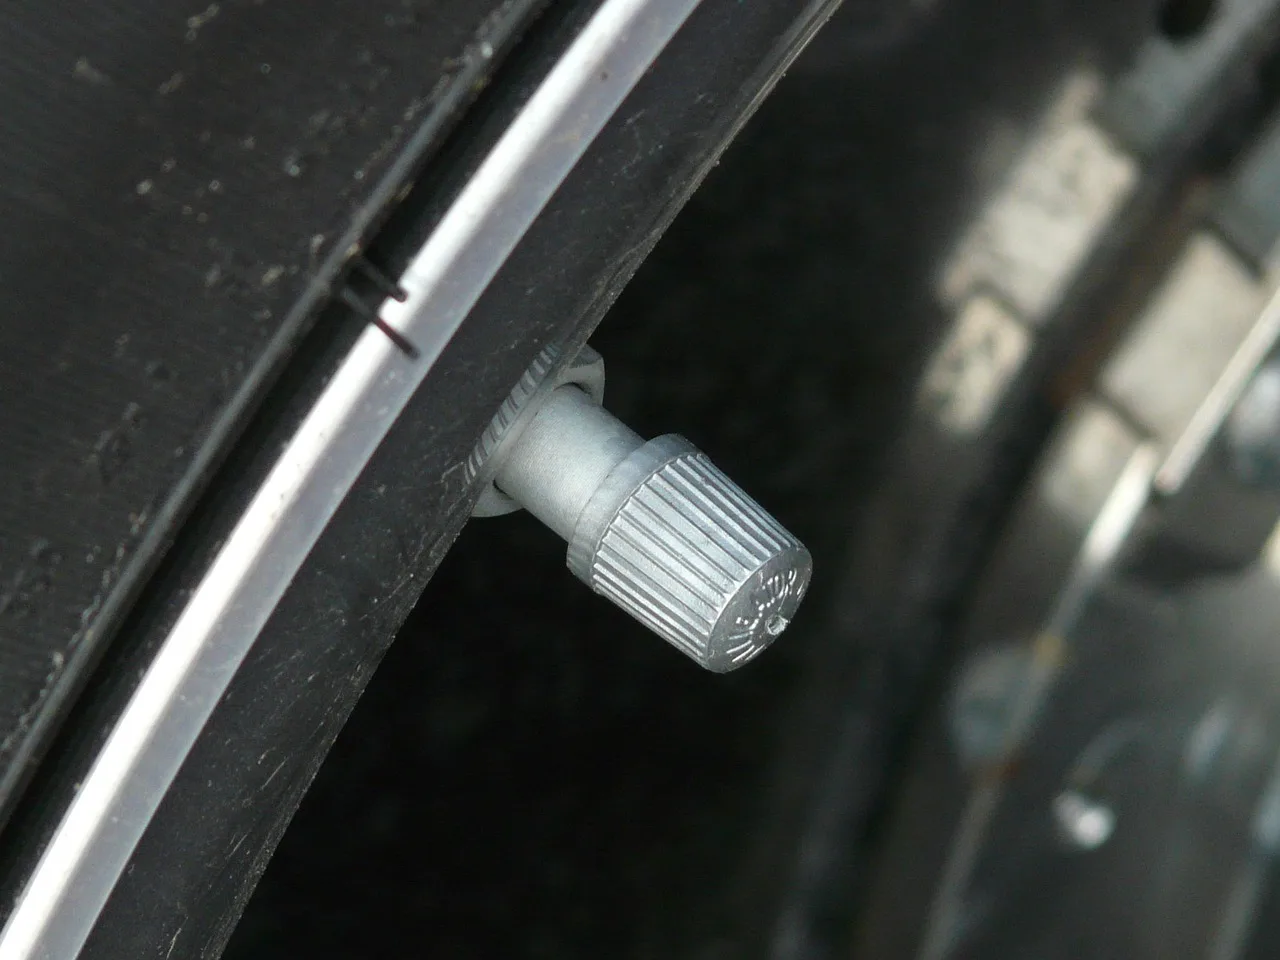
Use the placard cold pressure as the baseline, then reduce in stages until the tire suits the terrain without crossing the stock-rim warning signs. Gravel and dirt roads usually start higher than rocky trails; sand usually starts lower than either. Record the result by axle, load, terrain, and wheel type so you can return to it.
A repeatable step-down method
- Read the door placard and note the cold front and rear street pressures.
- Pick the terrain first, not the number first.
- Reduce pressure in small, even steps on each axle.
- Drive a short section at low speed.
- Recheck pressure with the gauge, then inspect sidewalls and wheel lips.
- Stop lowering pressure when the vehicle settles, gains grip, and still steers cleanly without heavy squirm or rim contact signs.
- Log the final front and rear numbers with tire size, load, terrain, and outside temperature.
For a practical first pass, use terrain ranges as estimates rather than promises. Gravel and dirt roads start around 28-32 PSI. Rocky trails start around 22-26 PSI. Sand is commonly recommended at 15-20 PSI, with deep, soft sand sometimes needing 12-15 PSI, but that lower band moves into a higher-risk zone on stock rims because bead separation risk rises below about 15 PSI.
Mud typically starts around 18-22 PSI, while snow often starts around 24-28 PSI. Use those numbers to choose a direction. The safe final target still depends on actual vehicle weight, tire construction, and wheel type.
Change pressure in steps, not giant drops
Do not jump from placard pressure straight to a very low trail number. Drop pressure in small increments, drive a short test section, then check again. That tells you far more than one big drop, and it gives you a setting you can repeat instead of a guess you made once.
Say your light SUV runs a placard pressure in the middle of the usual 32-38 PSI street band and rolls onto a washboard forest road. Dropping into the 28-32 PSI dirt-road range may calm the ride without making the steering vague. If it still chatters badly, bleed off a bit more, then recheck instead of jumping straight to rocky-trail pressure.
How to log a usable trail setting
Write down the date, temperature, vehicle load, terrain, tire size, wheel type, and separate front and rear PSI. Add a short note on symptoms: stable, rim taps, rear squirm, TPMS alert, or sidewall bulge. That turns one good setup into a baseline you can use again.
Off-road pressure decision table
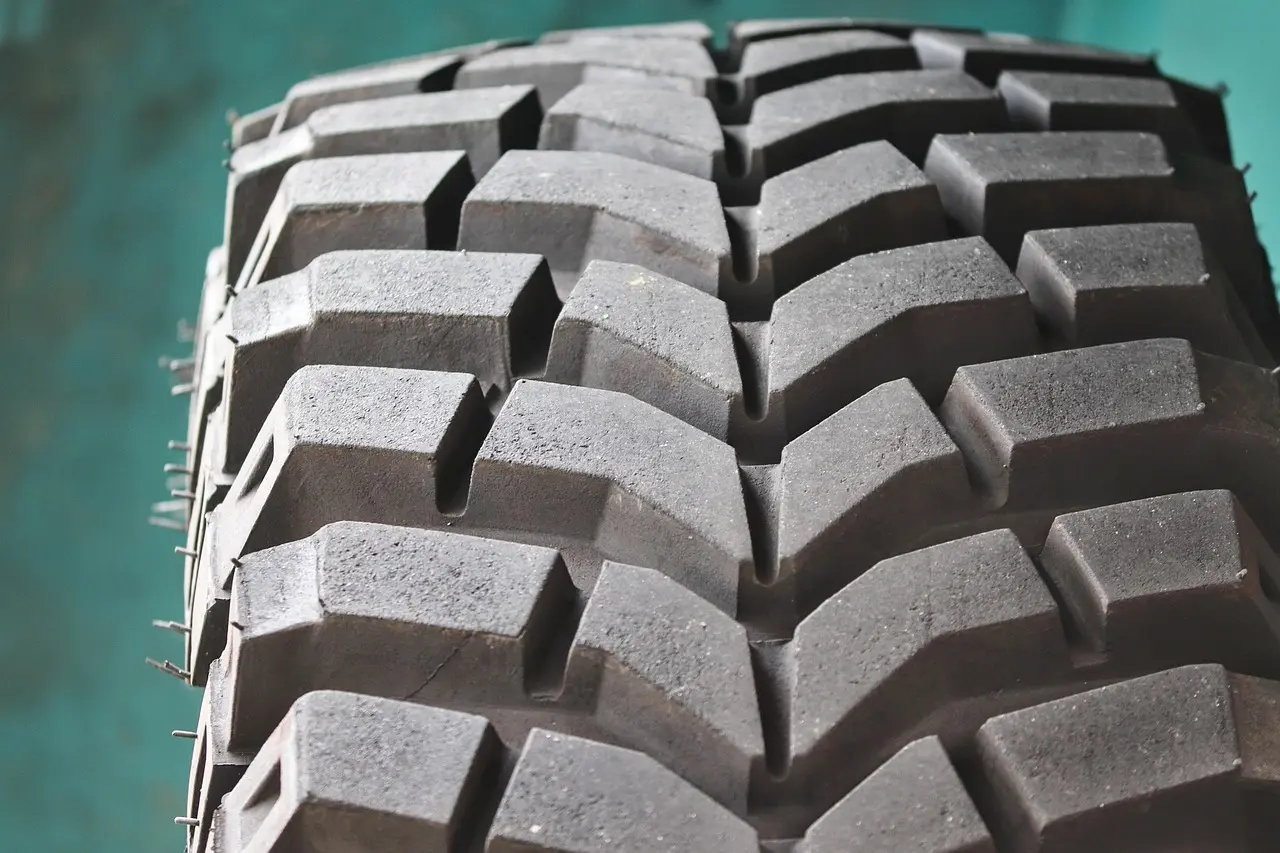
What to air down to, by terrain, weight, and wheel type
| Terrain | Starting PSI | Likely adjustment range | Speed cap | Bead-risk warning | Reinflate trigger |
|---|---|---|---|---|---|
| Gravel/dirt road, light SUV, stock rims | Door placard, often within 32-38 PSI street baseline | Step down toward 28-32 PSI | Keep speeds moderate; slow further if steering gets vague or heat builds | Low bead risk here, but stop if sidewall bulge becomes obvious for the terrain | Before sustained pavement speed, or if the road turns long, fast, and hot |
| Gravel/dirt road, loaded overland SUV, stock rims | Door placard, with rear axle load noted | Usually near the upper end of 28-32 PSI, with rear often kept higher | Keep speeds down on washboard and loaded corners | Rear bead and rim risk rises sooner when cargo weight is concentrated aft | Add pressure if rear squirm starts or air back up before pavement |
| Rocky trail, midsize truck, stock rims | Door placard | Step down toward 22-26 PSI | Crawl or low trail speed only | Watch for rim strikes and steering push; stock-rim risk climbs as pressure falls | Reinflate if repeated wheel hits appear or before any sustained road section |
| Rocky trail, heavy truck, stock rims | Door placard | Often higher than 22-26 PSI because weight raises the safe floor | Low speed only | Heavy axle loads can pinch a tire or unseat a bead earlier than expected | Add pressure at the first sign of rim contact, heavy bulge, or carcass roll |
| Soft sand, light SUV, stock rims | Door placard | Step down toward 15-20 PSI, with caution near the bottom end | Low speed, gentle steering inputs | Below about 15 PSI, bead separation risk rises on stock rims | Reinflate before driving back onto pavement, or if the tire starts walking on the rim |
| Soft sand, loaded overland SUV, stock rims | Door placard | Usually stay above the light-SUV target because load raises the floor | Low speed only | Heavy rear load and sharp steering make debeading more likely | Add pressure if sidewalls fold too far or the rear feels delayed in response |
| Mud, midsize truck, stock rims | Door placard | Step down toward 18-22 PSI | Low speed; avoid long fast connectors | Too low can let the tire wad up without cleaning the tread well | Reinflate for faster sections or if the tire starts striking the wheel lip |
| Snow, light SUV, stock rims | Door placard | Step down toward 24-28 PSI | Moderate to low speed, especially on mixed ice and pavement | Very low pressure can make steering vague and bead retention worse on ruts | Reinflate before plowed pavement or if the vehicle wanders |
| Rock or sand, beadlock-equipped vehicle | Door placard | Can go lower than stock rims; single digits are a beadlock discussion, not a stock-rim baseline | Very low speed only | Bead retention improves, but sidewall and wheel damage risks remain | Reinflate for road use, and inspect hardware per manufacturer instructions |
| Mud/snow, heavy truck, beadlocks | Door placard | Lower than stock-rim setups may be workable, but weight still sets the real floor | Low speed only | Beadlocks do not cancel heat, carcass stress, or wheel-strike risk | Reinflate before pavement and recheck hardware after the trail |
How low can you air down on stock rims?
On stock rims, the real limit is bead retention, not bravado. For many SUVs and trucks, stock-rim caution starts once pressure drops into the high teens, and bead separation risk rises below about 15 PSI. Vehicle weight, tire construction, and steering input can push that floor up quickly.
Stock-wheel bead retention sets the floor
That is why this guide treats 18 to 20 psi as a common stop-near zone on stock rims unless the terrain and tire size clearly support less. It is also why deep soft sand in the 12-15 PSI range should not be treated as a normal stock-rim recommendation. That zone calls for low speed, careful steering, and a setup that clearly tolerates it.
Visual stop signs that mean you went too low
Stop lowering pressure if you see excess sidewall bulge for the load, feel steering squirm on gentle inputs, or find fresh evidence of rim strikes. Those are failure thresholds, not small preferences. Add pressure before you keep going.
Picture a heavy truck on stock wheels dropping pressure for a rocky ledge section. Grip improves at first, then the next obstacle leaves a clear wheel-lip hit and the tire looks folded over at the lower sidewall. That is your cue to air up, not keep driving and hope the bead stays seated.
When the trail calls for more pressure, not less
Sharp rocks, a loaded rear axle, or a long fast dirt connector can all justify more pressure than the terrain label alone suggests. Lower is not always better. Sometimes the right move is to give up a little footprint to protect the wheel and carcass.
Follow the vehicle and product manuals, never work under a vehicle held only by a jack, never exceed rated limits, keep gear out of airbag zones and the driver’s view, and check local laws.
What PSI works best for each terrain?
Use terrain to choose the first target band, then tune by weight and wheel type. Gravel and washboard roads usually want the highest off-road pressures; rocks need a lower, slower setup; sand usually wants the lowest pressures; mud and snow sit between those points and depend heavily on vehicle weight and steering feel.
Gravel and washboard dirt roads
Start around 28-32 PSI. This range helps the tire take the edge off chatter while preserving stability and limiting heat on longer dirt sections. If the vehicle is heavily loaded, especially over the rear axle, stay toward the higher side of that band.
Rocky trails
Start around 22-26 PSI. That usually gives enough compliance for rocks while keeping more wheel protection than a sand setup. If you begin hearing rim contact, seeing heavy sidewall fold, or feeling the tire roll under the wheel, add pressure.
Soft sand
Start around 15-20 PSI on suitable setups, then reassess quickly. Deep, soft sand can need 12-15 PSI, but on stock rims that is a high-risk area because the bead is easier to unseat, especially with weight, throttle shock, or abrupt steering. Keep inputs smooth.
Mud and snow
Mud commonly starts around 18-22 PSI. Snow commonly starts around 24-28 PSI. Mud often benefits from a little footprint gain without dropping so low that the tire loses support. Snow usually needs enough compliance for grip while keeping steering control on ruts and mixed surfaces.
For a useful cross-check, one published vehicle guide lists a loaded UAZ Bukhanka at 2.2-2.9 bar on asphalt, 1.8-2.0 bar for gravel and dirt roads, 1.2-1.5 bar for mud and snow, and 0.8-1.0 bar for sand. The exact vehicle differs, but the pattern matches the general rule: road highest, gravel next, then mud or snow, with sand lowest.
Do beadlocks let you run lower pressure?
Yes, beadlocks can let you run lower pressure because they mechanically retain the tire bead, and single digits become a beadlock conversation rather than a stock-rim one. That said, beadlocks do not remove sidewall damage, wheel-strike, heat, inspection, or legal-use concerns.
Where beadlocks change the decision
Below about 15 PSI, stock-rim bead risk rises. Beadlocks change that part of the equation by holding the bead more securely. That makes very low pressure more practical in some rock and sand situations, but it does not mean every tire, wheel, and heavy vehicle can safely use the same number.
Maintenance and legality still matter
Beadlock hardware needs inspection and torque checks per the wheel manufacturer’s instructions. Street legality also varies by location and product type, so do not assume every beadlock wheel is legal for road use in every area. Confirm fitment and local rules before relying on them for a dual-use vehicle.
How low can you go without beadlocks?
If your rig doesn’t have beadlocks, the practical floor is usually around 12–15 psi for many off-road SUVs and trucks, with heavier vehicles often needing to stay closer to 15 psi. Going lower can improve traction, but it also increases the risk of debeading, sidewall flex, wheel damage, and sudden air loss if you turn hard or hit obstacles at speed. The lowest tire pressure guide explains how tire size, vehicle weight, wheel design, and terrain change that floor so you can choose a safer number for your setup.
How fast should you drive after airing down?
After airing down, speed should drop with pressure. Low trail pressure is for low-speed terrain, not for long fast runs. As pressure falls, heat, sidewall flex, vague steering, and carcass stress rise, so the right speed cap is the one that keeps the tire stable and cool enough to avoid damage.
Low pressure means low speed
There is no single mph rule that fits every vehicle, tire, and load, so the manual matters here. Use a conservative trail pace, especially in rocks and sand. If steering starts to wander, the sidewalls look overworked, or the vehicle feels delayed in response, slow down and consider adding pressure.
Reinflate before sustained pavement
This is the expensive mistake many drivers make. Long pavement miles at trail pressure can create wandering, excess heat, and tire wear that you could have avoided. Air back up before sustained road speed, even if the dirt section felt short and the tires still look fine.
When to stop and add pressure mid-trail
Add pressure if the surface speeds up, the load changes, the rear starts to squirm, the wheel contacts rocks, or outside temperature swings enough to move the pressure target. A trail setting is not permanent; it belongs to that exact combination of surface, speed, and load.
What tools do you need to air down and back up?
A reliable gauge, a deflator, and a compressor are the core kit. The best setup is the one that lets you measure accurately, lower pressure in controlled steps, and reinflate all four tires before pavement without guessing. TPMS helps monitor, but a handheld gauge still gives the real number.
Tire gauge
Carry a portable gauge and use it at the tire, on the trail. Accuracy matters more than extra features. Compare against a second gauge if readings seem off, and always treat cold pressure as the baseline reference when building your log.
Deflators
The manual valve-core method is slow but precise. Rapid deflators trade some precision for speed. Preset automatic deflators can save time when the target is already known. The right choice depends on whether this is the first setup for a trail or a return visit to a proven pressure.
Compressors and onboard air
A portable 12V compressor or onboard air system should be chosen for reliable reinflation of all four tires after the trail. Capacity, duty cycle, hose length, and recovery time vary by model, so check the manufacturer’s listing for your setup rather than assuming one compressor suits every truck and tire size.
Follow the vehicle and product manuals, never work under a vehicle held only by a jack, never exceed rated limits, keep gear out of airbag zones and the driver’s view, and check local laws.
How do you find a repeatable pressure for your exact setup?
Build the answer around your specific vehicle class, tire size, load, axle balance, and terrain. Start from the placard pressure, reduce in small steps, test one surface at a time, and record front and rear separately. That turns trial and error into a setting you can reuse with confidence.
Build a simple worksheet
Record vehicle class, tire size, wheel type, street placard pressure, current load, and terrain. Then add the first trial pressure and the final accepted pressure for each axle. If the rear is loaded, note that clearly so you do not mistakenly reuse the same numbers when the vehicle is empty.
Change one variable at a time
Test one terrain at a time and make small pressure changes before the next recheck. If you also change speed, cargo, and route at the same time, the final number tells you very little. Good notes are what bring the same vehicle back to the same proven setting next trip.
Recheck after obstacles, long runs, and temperature swings
Pressure that works at sunrise can feel different by afternoon. Tires typically lose or gain 1 to 2 PSI for every 10 degrees Fahrenheit, which is enough to matter off-road. Recheck after a long section, after major obstacles, and any time the vehicle starts acting unlike the number on the page.
Frequently asked questions
What tire pressure should I air down to for off-roading?
Start with the door-placard cold pressure, then step down by terrain. Gravel and dirt roads commonly start at 28-32 PSI, rocky trails at 22-26 PSI, sand at 15-20 PSI, mud at 18-22 PSI, and snow at 24-28 PSI. Treat those as starting estimates, then tune by load, tire, and wheel type.
What psi is best for sand versus rocks?
Sand usually wants lower pressure than rocks because flotation matters more. A common starting point is 15-20 PSI for sand and 22-26 PSI for rocky trails. Deep soft sand may need 12-15 PSI, but that is a higher-risk zone on stock rims and needs very careful judgment.
Do I need to air back up before highway driving?
Yes. Air back up before sustained pavement speed because trail pressure can cause wandering, excess heat, and accelerated wear on-road. Even if the dirt section was short, low pressure that worked well off-road is not the right setting for highway travel, especially with cargo or warm ambient temperatures.
What happens if I go too low on tire pressure off-road?
Going too low can cause excess sidewall bulge, steering squirm, rim strikes, bead unseating, and heat buildup. The danger usually shows up as vague response, visible tire fold, or wheel contact before a full failure. When those signs appear, stop and add pressure.
Do beadlocks let me run lower tire pressure?
Usually, yes. Beadlocks improve bead retention and can allow single digits in situations where stock rims would be a bad idea. They still do not remove sidewall stress, wheel impacts, maintenance checks, or road-use legal concerns, so very low pressure remains a specialized setup, not a free pass.